
What is Java? Well everyone know that Java is a general-purpose computer programming language. But what is so special about Java? Well it’s object-oriented programming (OOP) language, it’s concurrent and also it is designed to let developers to write once, run anywhere (WORA) means developers could run compiled code could run on any platform.
But in reality, there is a virtual machine (JVM) which could run java compiled code (Byte Code). If a developer could install this JVM in any platform or the JVM is already installed on any platform, compiled java code could be run on the platform. If there is platform without JVM, any java compiled code couldn’t be run on that platform.
Of course Java is a one of the most popular programming language in use. Since Java is working on a virtual machine, Java is unable to access lower level facilities of a computer. Java is originally developed by James Gosling at Sun Microsystems. Currently Java is owned by Oracle Corporation.
Source: Java (programming language)
So lets install java development kit because we’re going to develop java programs. Since java is running on many platforms, here I’m going to tell you how to install inside Windows Platform (Windows 7, 8, 8.1, 10) and Linux platform (Ubuntu, Linux Mint, Arch Linux).
First of all, we have to download jdk installation package. So google for jdk or goto this link to download the package.
Then go to Java Download, accept the license agreement and download the relevant installation package for your platform. (Arch Linux, Ubuntu, Linux Mint users doesn’t need to download it.) If you’re using Windows users should download *.exe package as for their platforms.
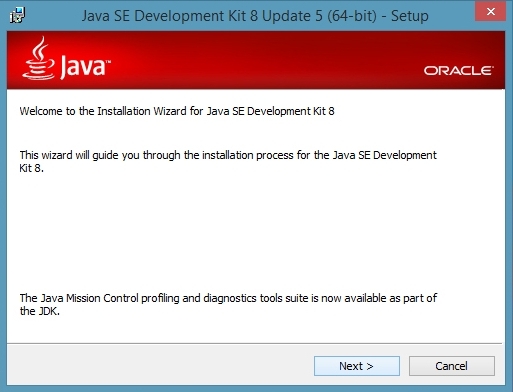
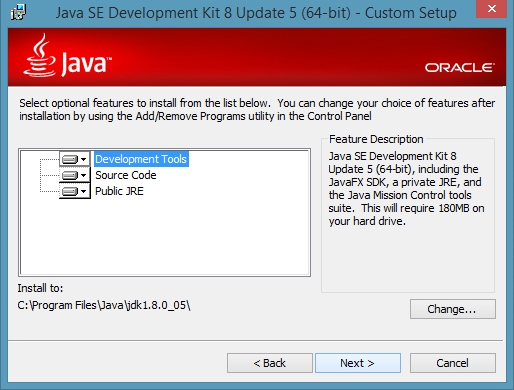
Install inside Windows platform
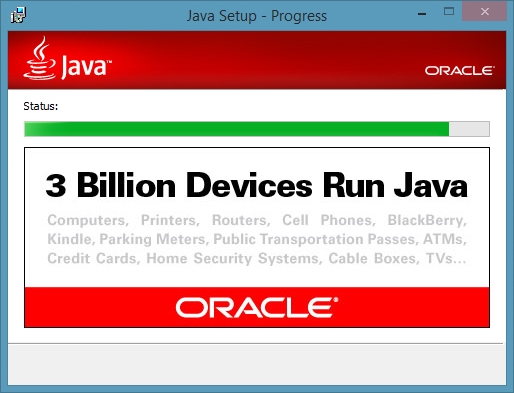
Read this topic if you have a Windows operating system such as Windows 7, 8, 8.1, 10 etc. When you completed downloading the installation package, double click on it and run the setup. Click next again and again so you will get following steps respectively. There’s nothing to configure in installing so don’t worry, just hit on next button.
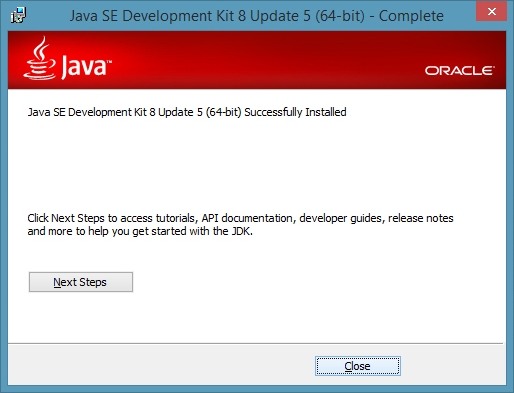
Finally close the installation wizard.
Installing steps are easy. Now you have to add java path to windows environmental variables’ path, so the system could identify java commands. To add path follow following steps.
Add java path to windows environmental variables’ path
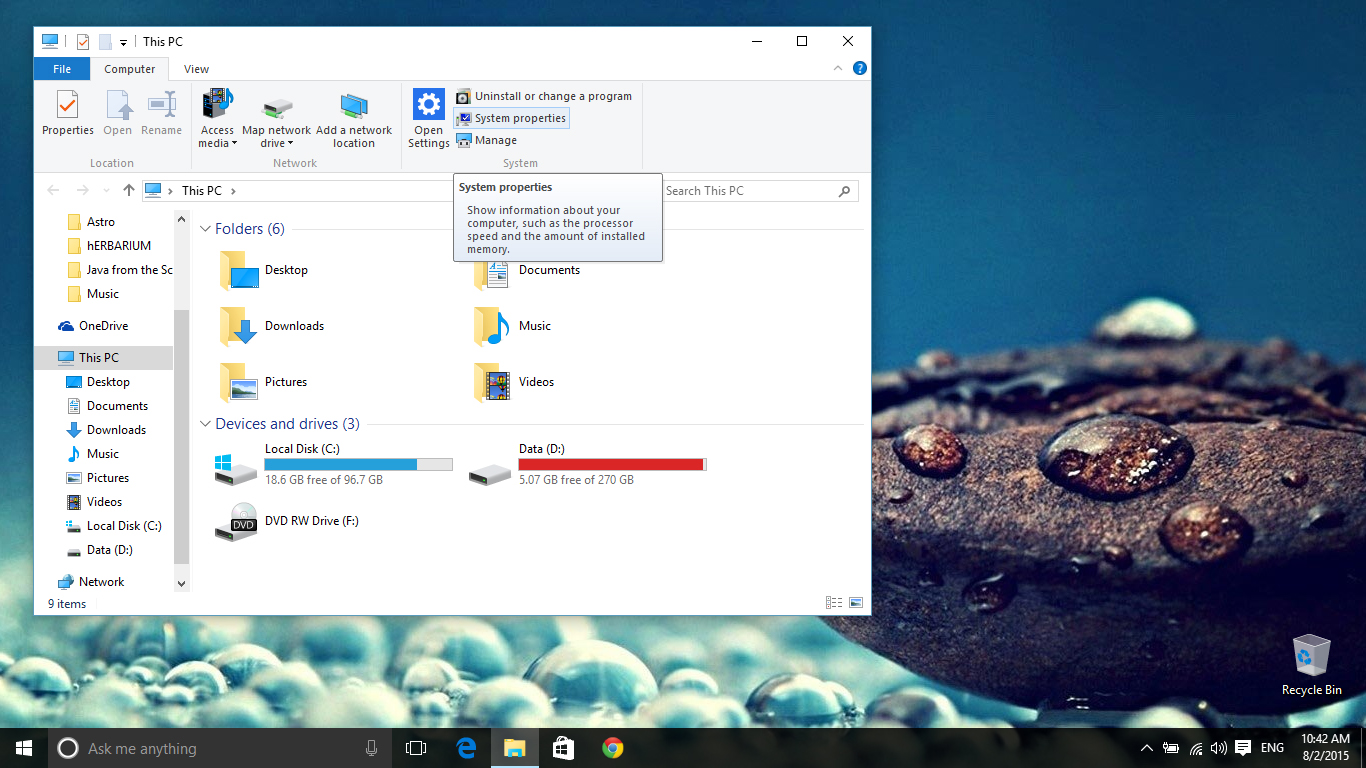
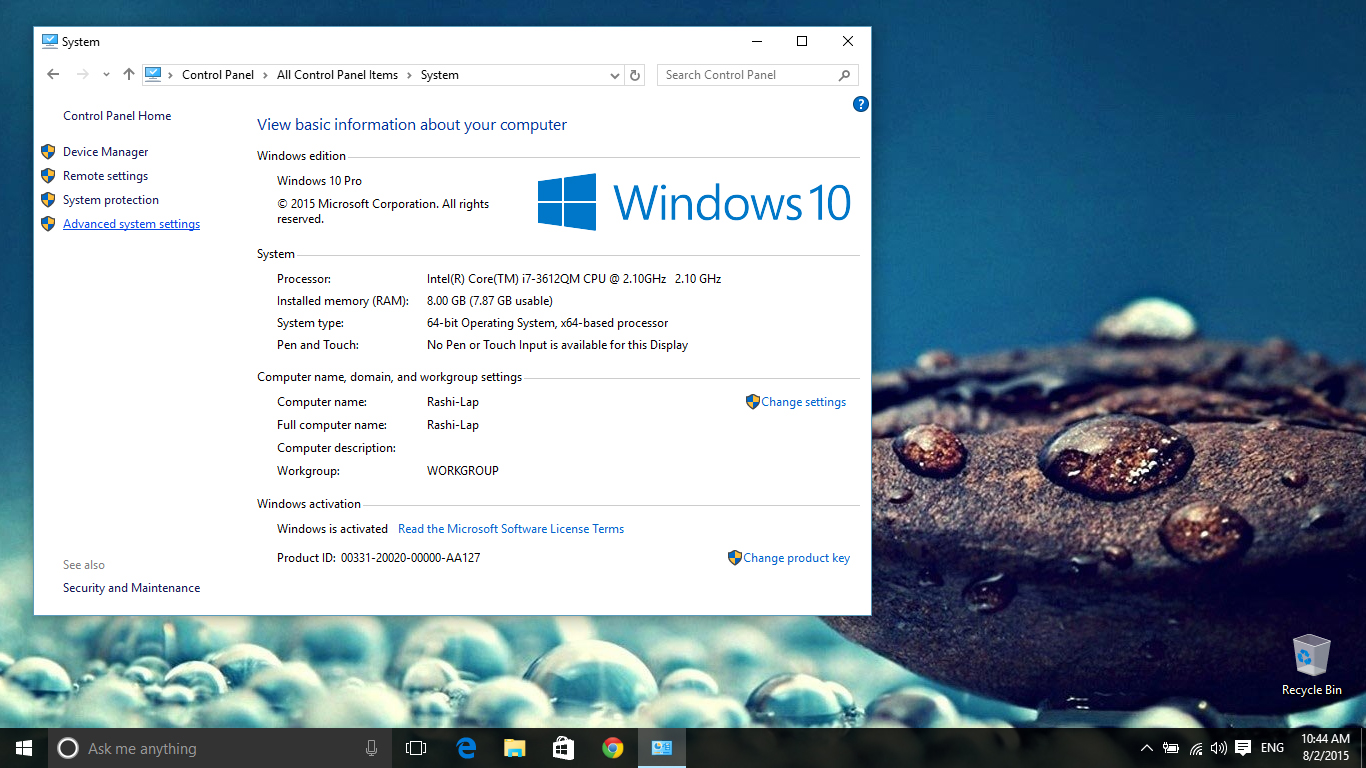
First go to Computer (This PC, My Computer).
Now go to System Properties in the Computer Tab. (You could go to system properties by right clicking on Computer Icon also. This method may be useful if you’re using Windows 7 ).
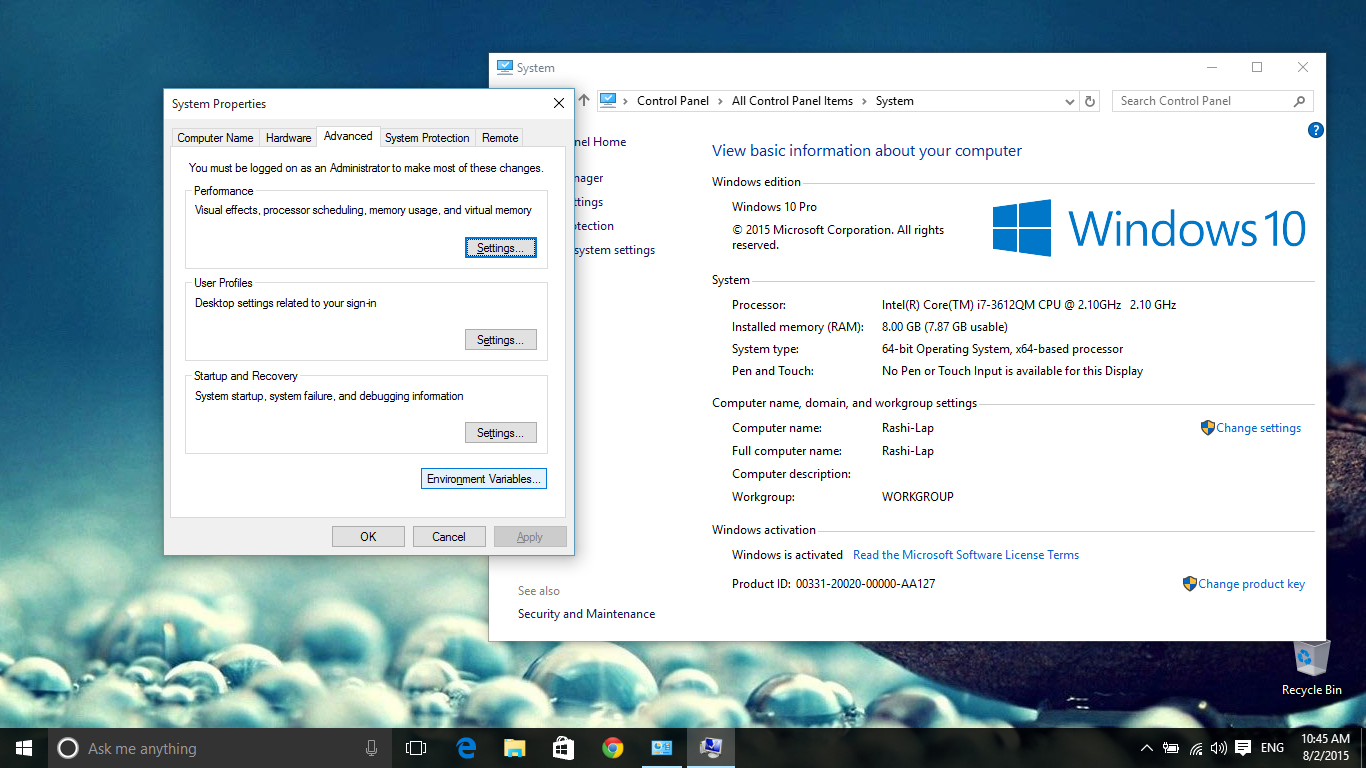
From the system properties window, go to Advanced System settings.
In advanced system settings go to Environment Variables.
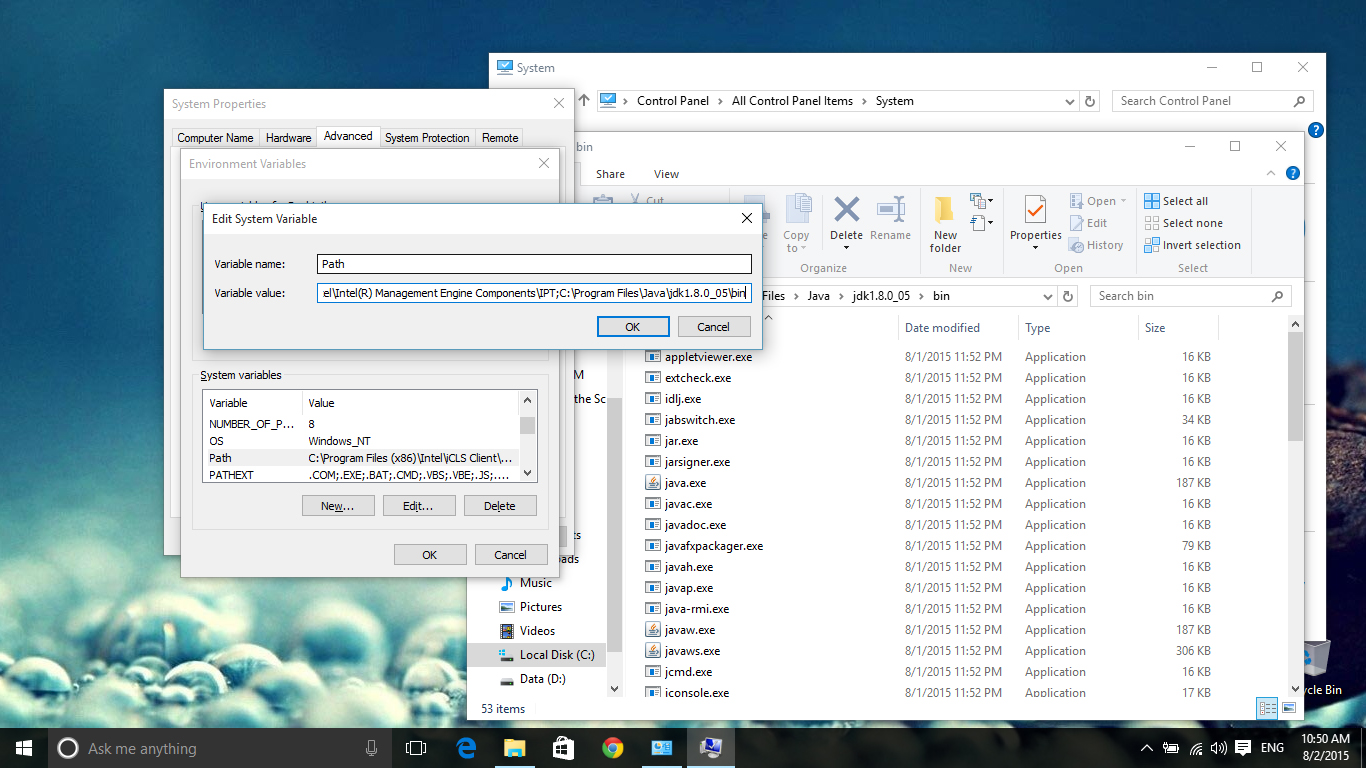
Now find Path variable from system variables list and click on Edit.
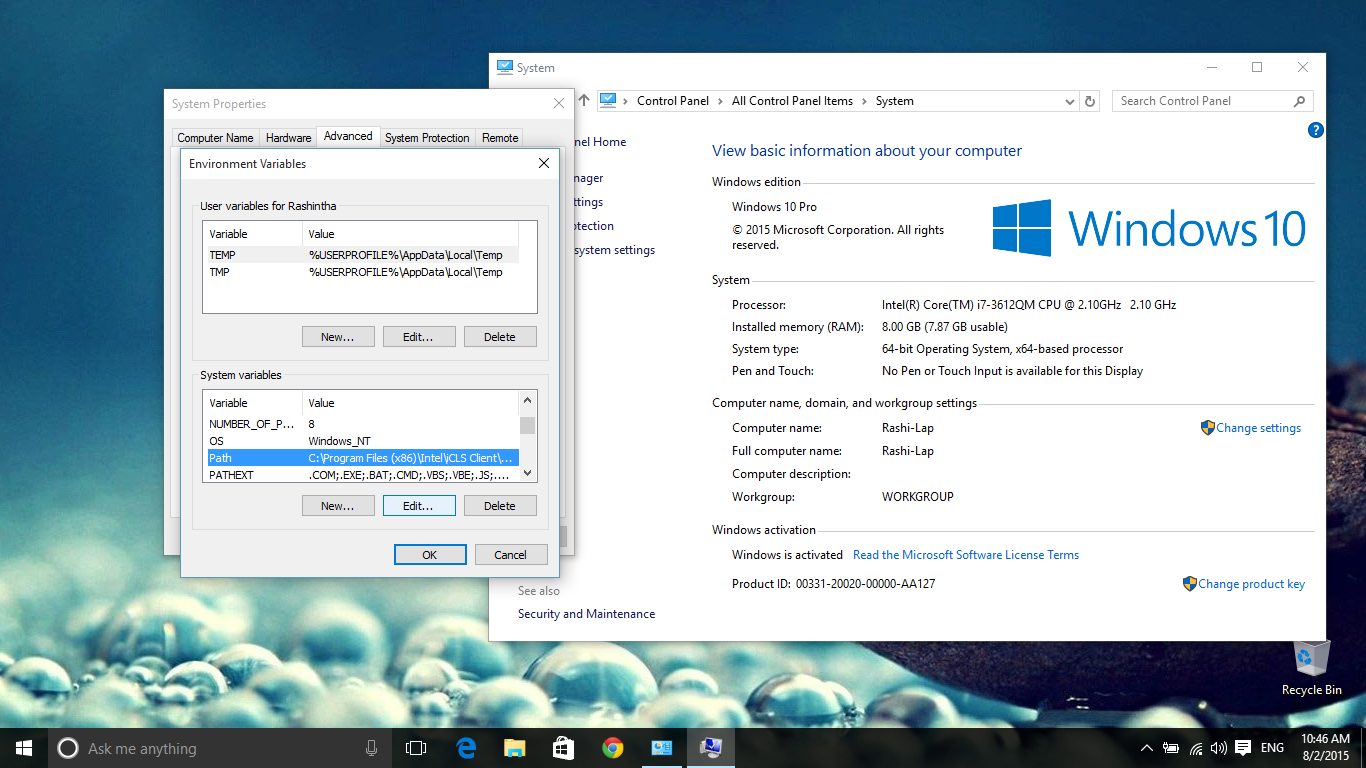
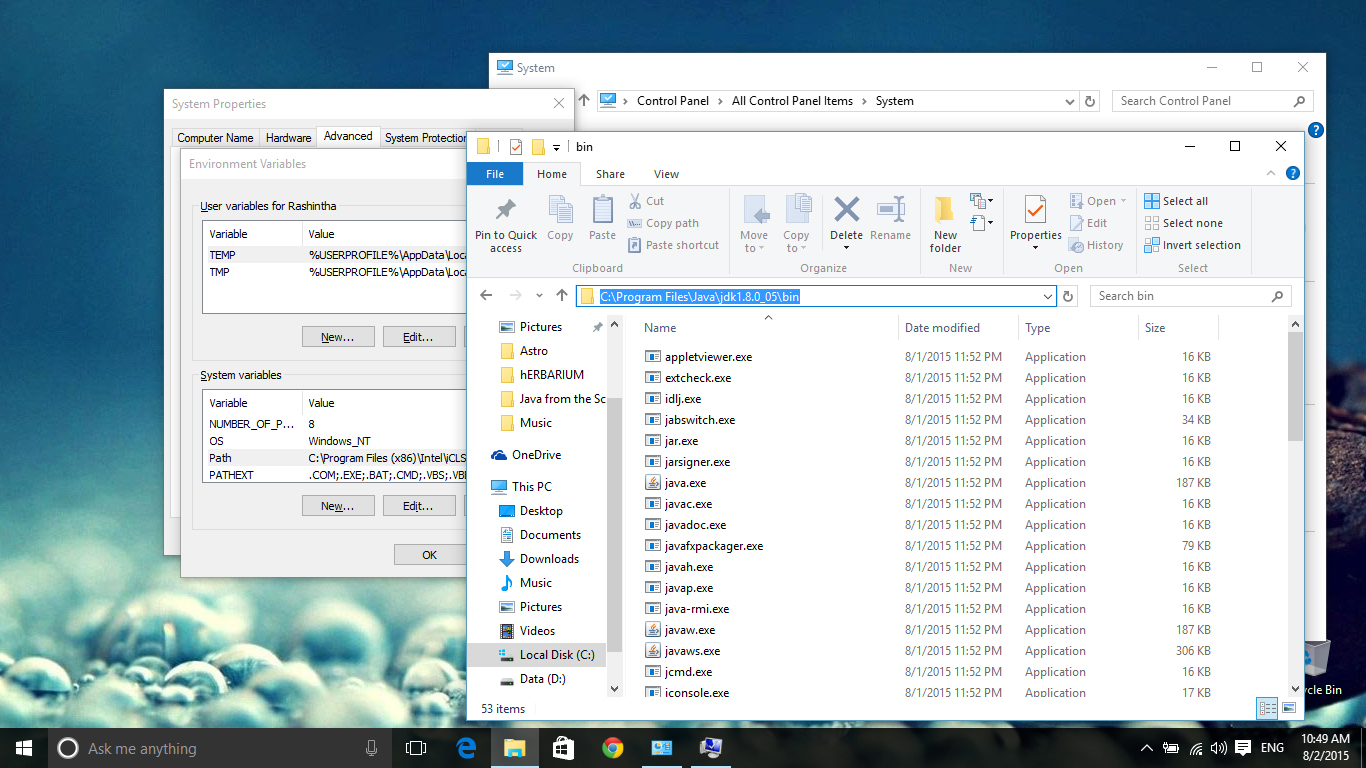
Now copy the path of your java bin folder. Usually it will be C:\Program Files\Java\jdk<version>\bin
Now add a semicolon (;) at the end of the variable value text box and paste the path of the java bin folder.
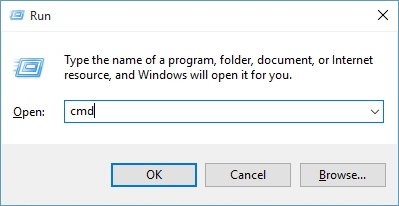
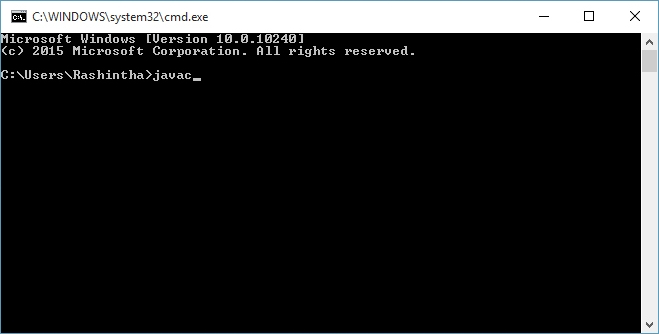
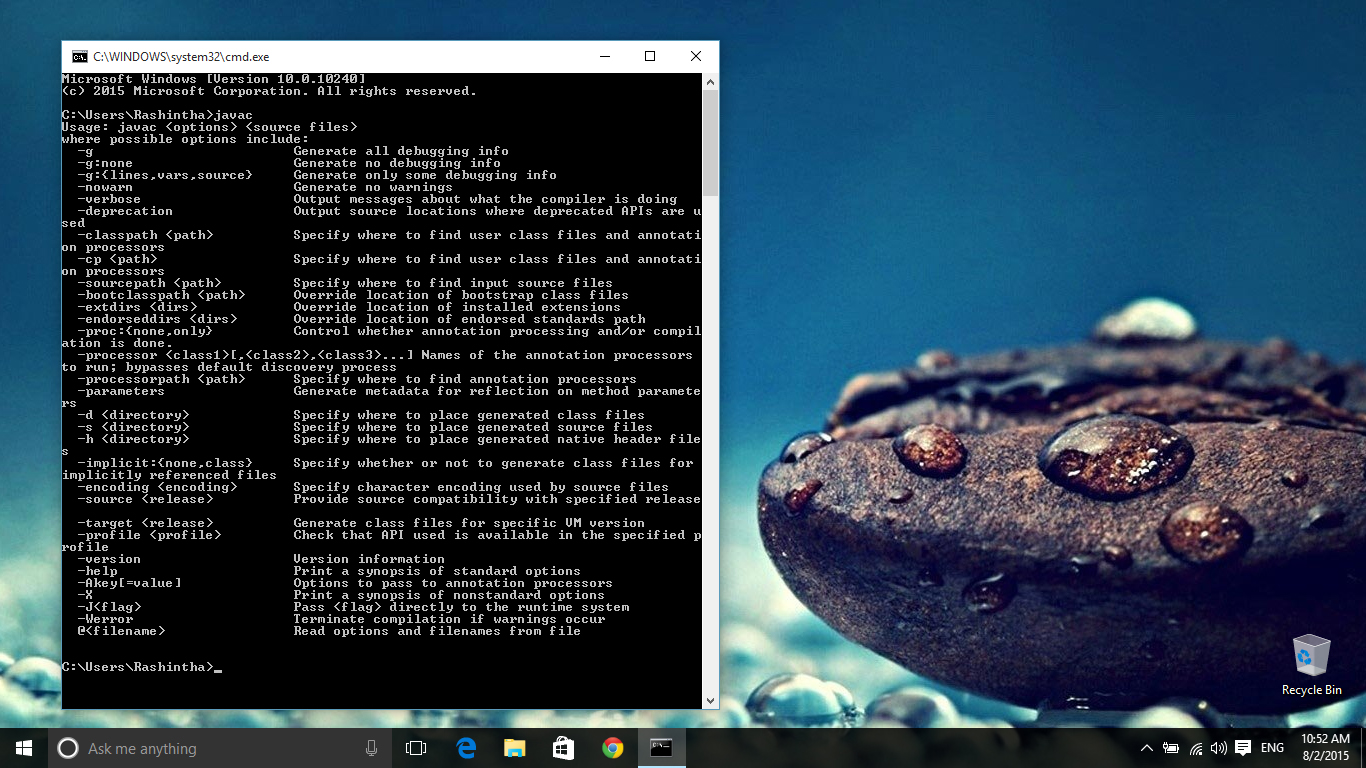
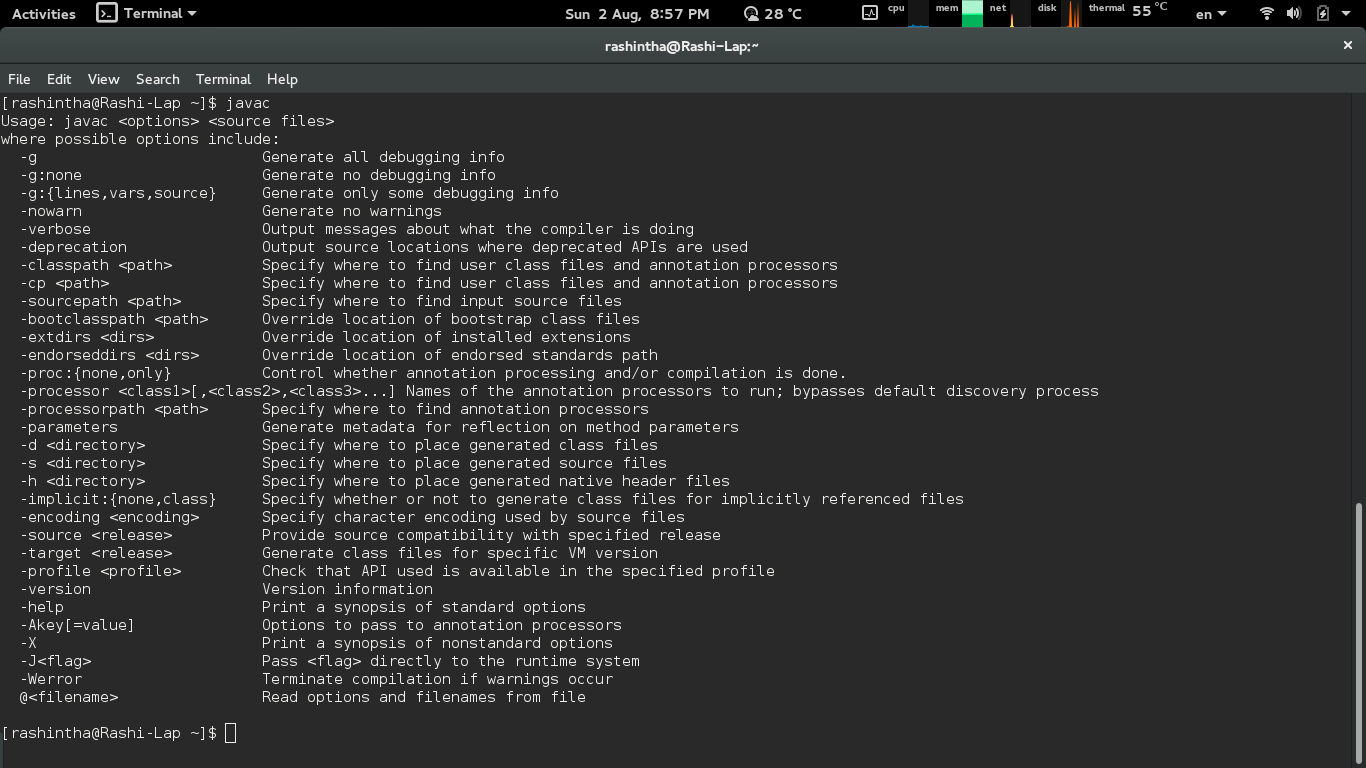
Now clock on the OK button of all opened windows and close all other windows. And press WinKey + R to get Run window and type cmd in it and press Enter to get command prompt. Type javac in the command prompt and press enter.
If you have entered the path correctly, you will get an output like following.
Install inside Linux platform
Linux users should follow following steps to install jdk on your systems. Here I’ll give methods to install in distributions which uses apt-get (Ubuntu, Linux Mint etc.) and pacman (Arch Linux etc.).
Install in Ubuntu, Linux Mint etc. (with apt-get)
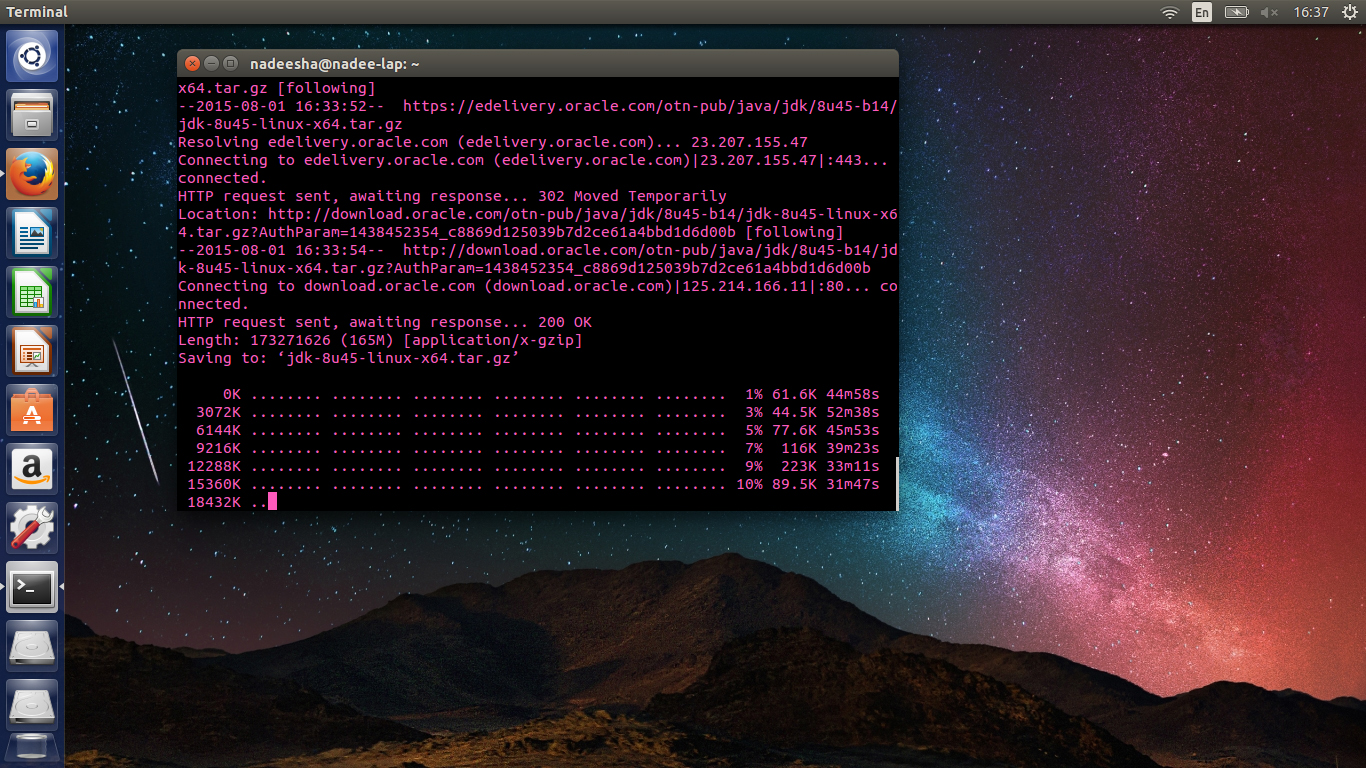
Use following commands to install java development kit.
$ sudo add-apt-repository ppa:webupd8team/java -y
$ sudo apt-get update

It may take little time to update packages database. So wait until it gets finished. When finished enter following command.
$ sudo apt-get install oracle-java8-installer
To continue, type y and press enter.

Then you will be getting a message like following. Use enter button to press OK in it.
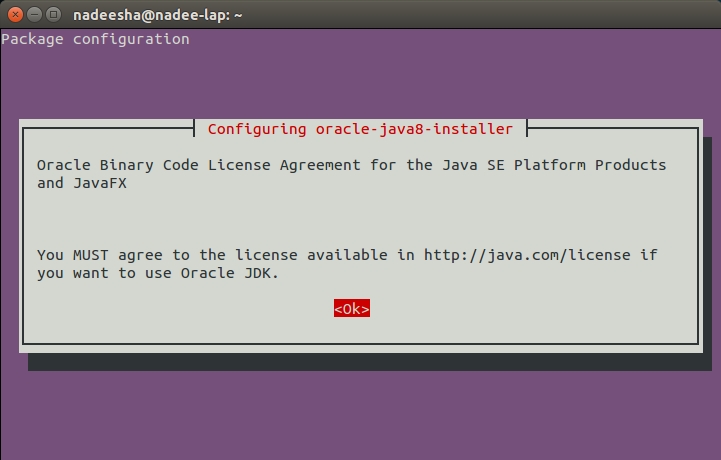
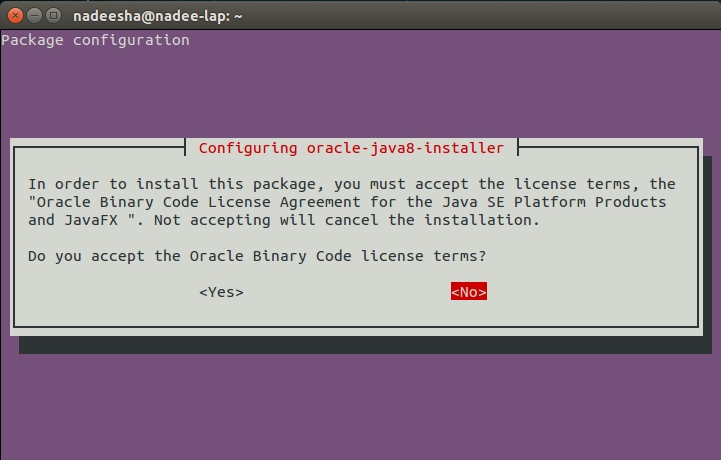
Then select Yes using arrow keys and press enter to accept license agreement.
Then jdk will be downloaded and installed.
Finally install following package using following command.
$ sudo apt-get install oracle-java8-set-default
Then you’ll be ready to go.
Install in Arch Linux (with pacman)
Use following command to install jdk inside Arch Linux.
$ sudo pacman -S jdk8-openjdk
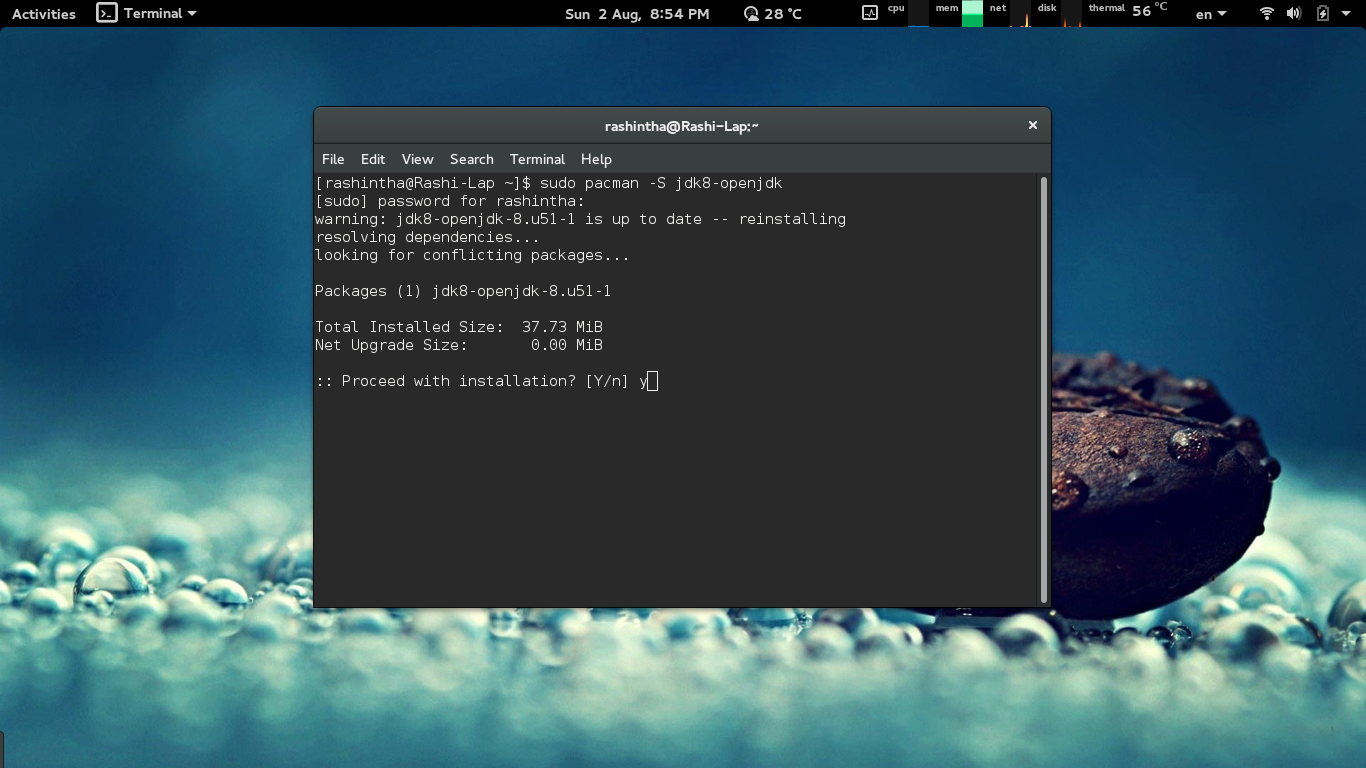
Type y and enter to continue installation.
Finally after any installation, type javac in the terminal and if you got a similar output to following figure, you have correctly installed java.
Now you’re ready to develop your first java program. So let’s say Hello, World..! In the following method, I’m going to tell you how to print Hello, Wolrd..! in the command prompt or terminal.
First of all, open a text editor (Notepad, Gedit etc.).
First we have to create a java class. What is a java class? I’ll answer for that question in a next part. For now you just need to know the basic way of coding. So first of all you need to create a class. Following is the way of creating basic java class. You have to type keyword class and the class name (When adding class name, there shouldn’t be any spaces)
class ClassName{

}
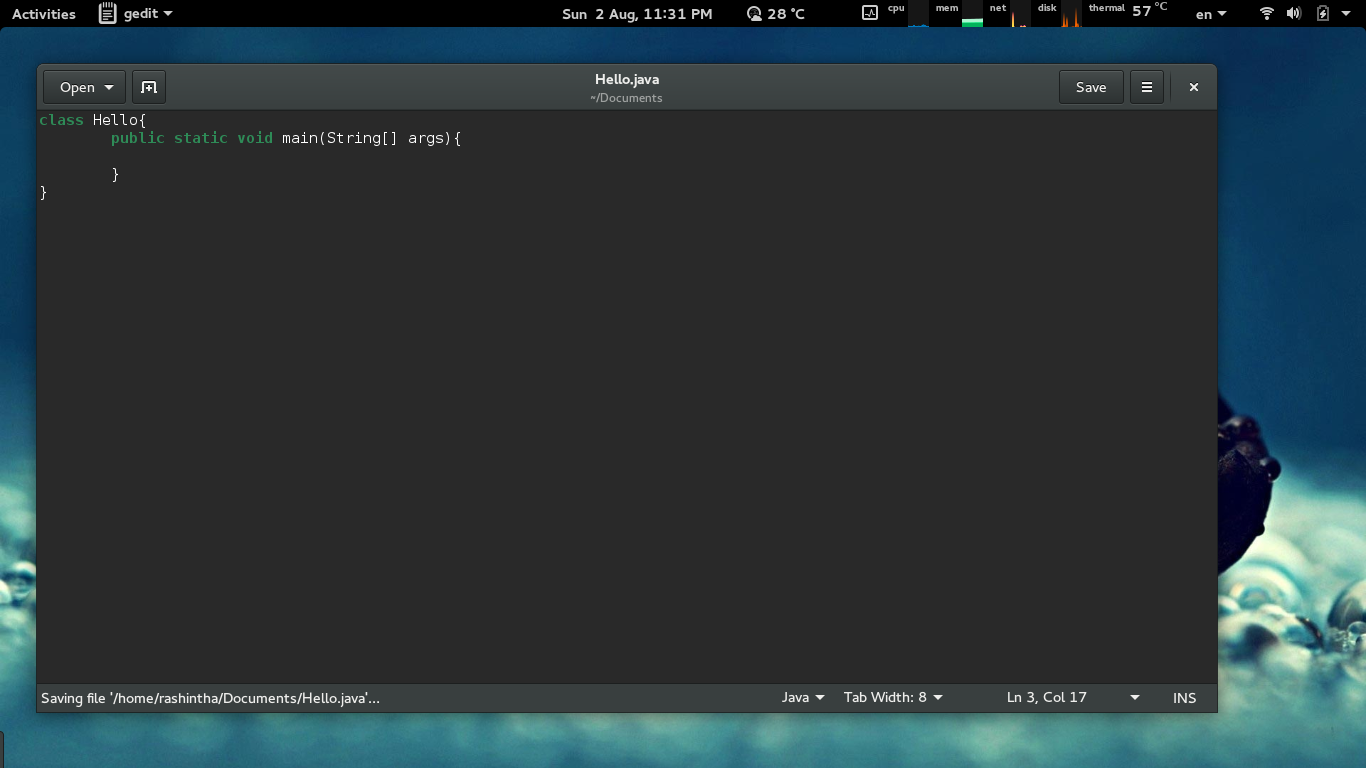
Now you’re going to create your first java class. Let take our class name as Hello. Type following lines in a text editor.
class Hello{

}
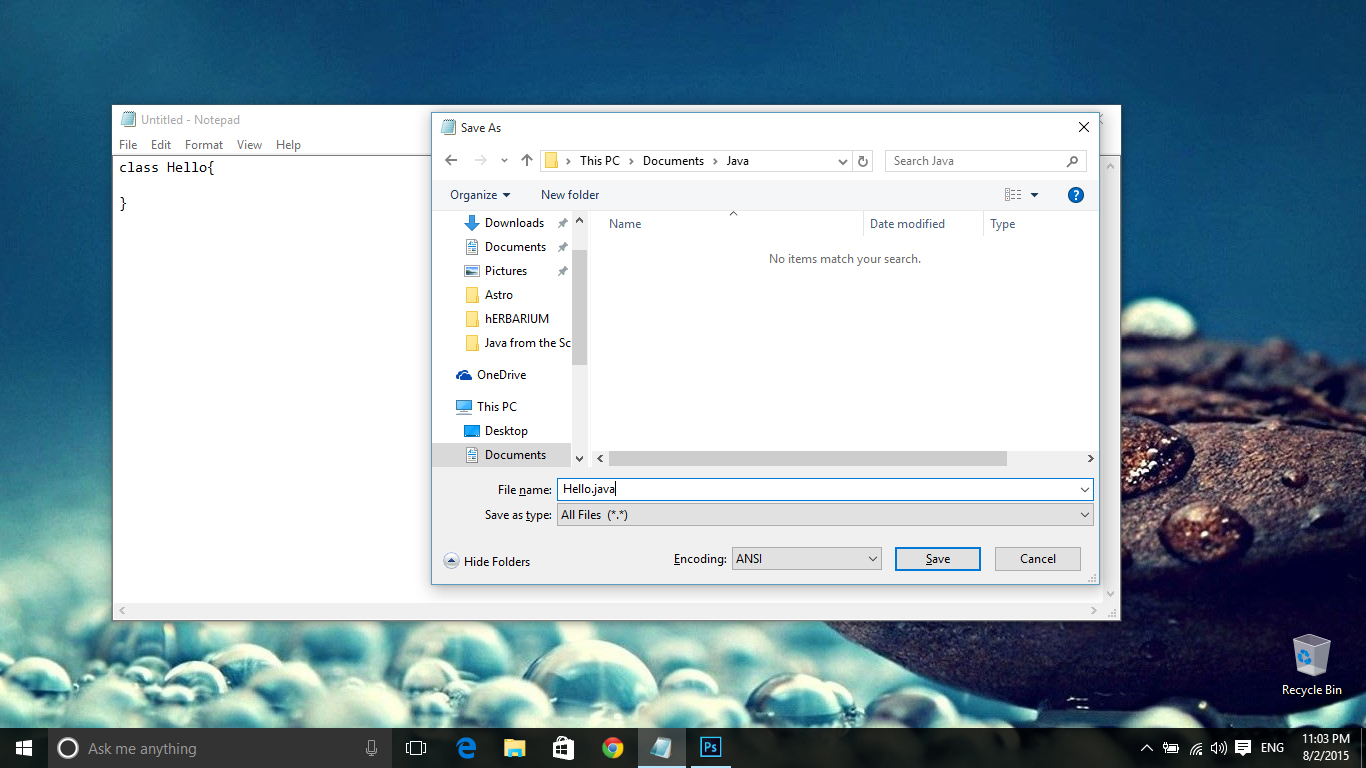
Now you have to save your file. You must use extension .java when you’re saving. Also normally we use class name as the file name when we save the file. So save the file as Hello.java. Remember the path which you’re saving the document.
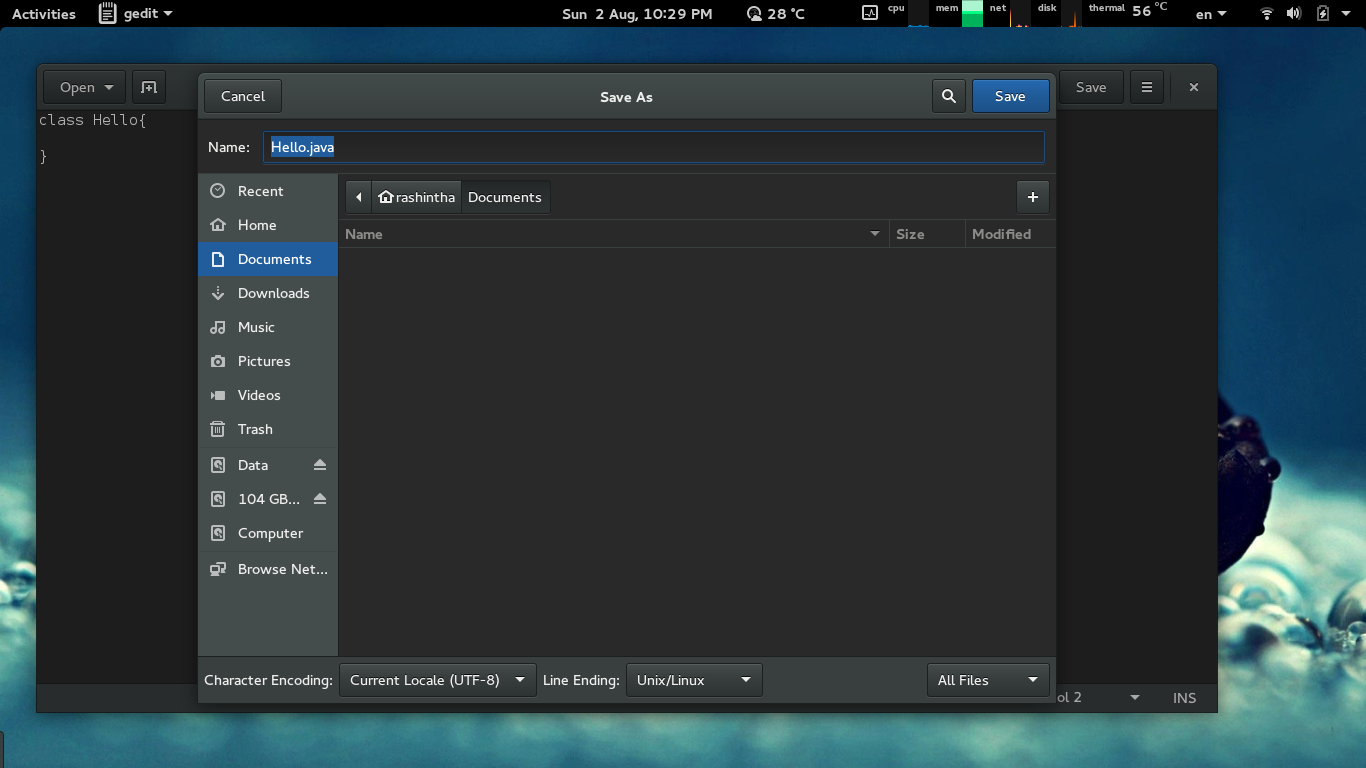
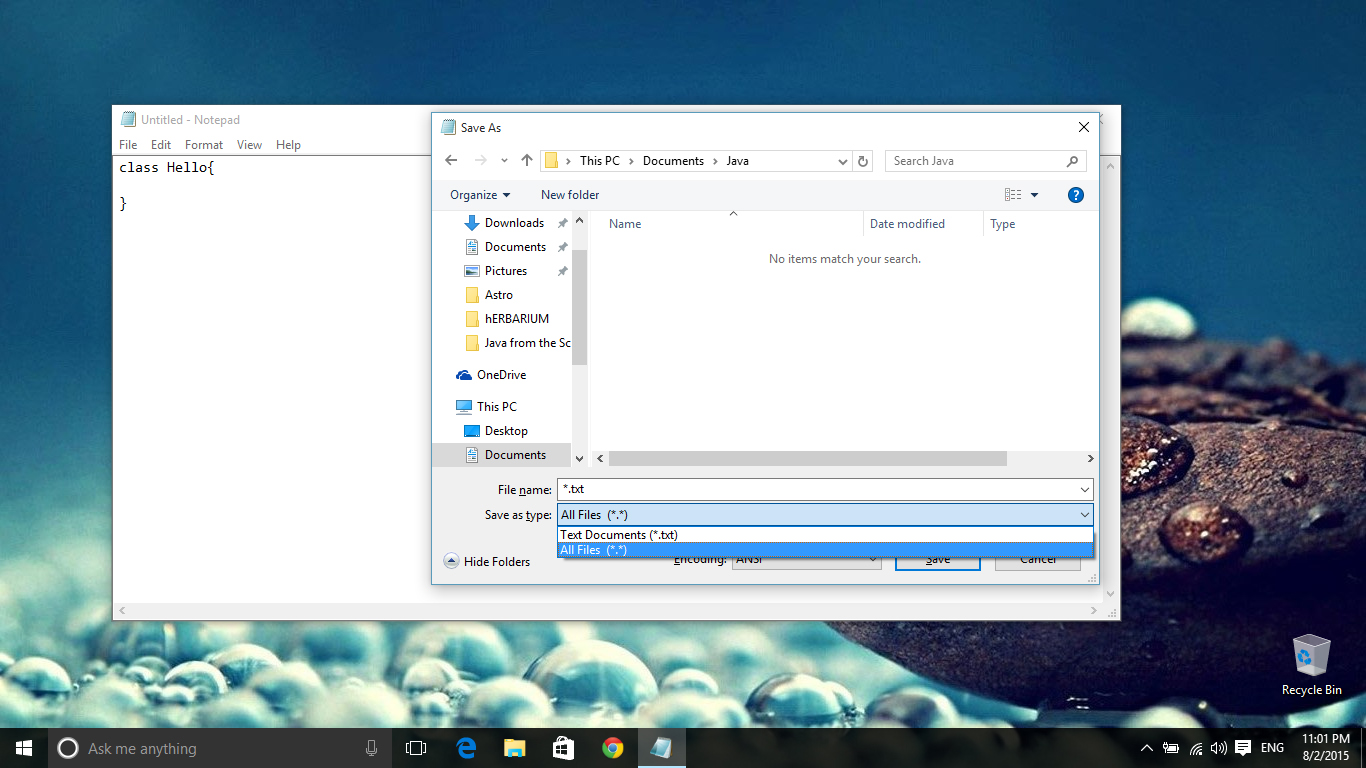
In windows, you need to change save as type to All Files before type the name.
Then you could save the file.
Now we have to create the main method of the program. Main method is the first running code in the whole document. So when you’re coding a java program, you must add a main method to your program, otherwise the program will not work.
Main method must be included inside a class. Java main method is coded as follows,
public static void main(String[] args){

}
So let add main method to our code.
class Hello{
          public static void main(String[] args){
     }
}
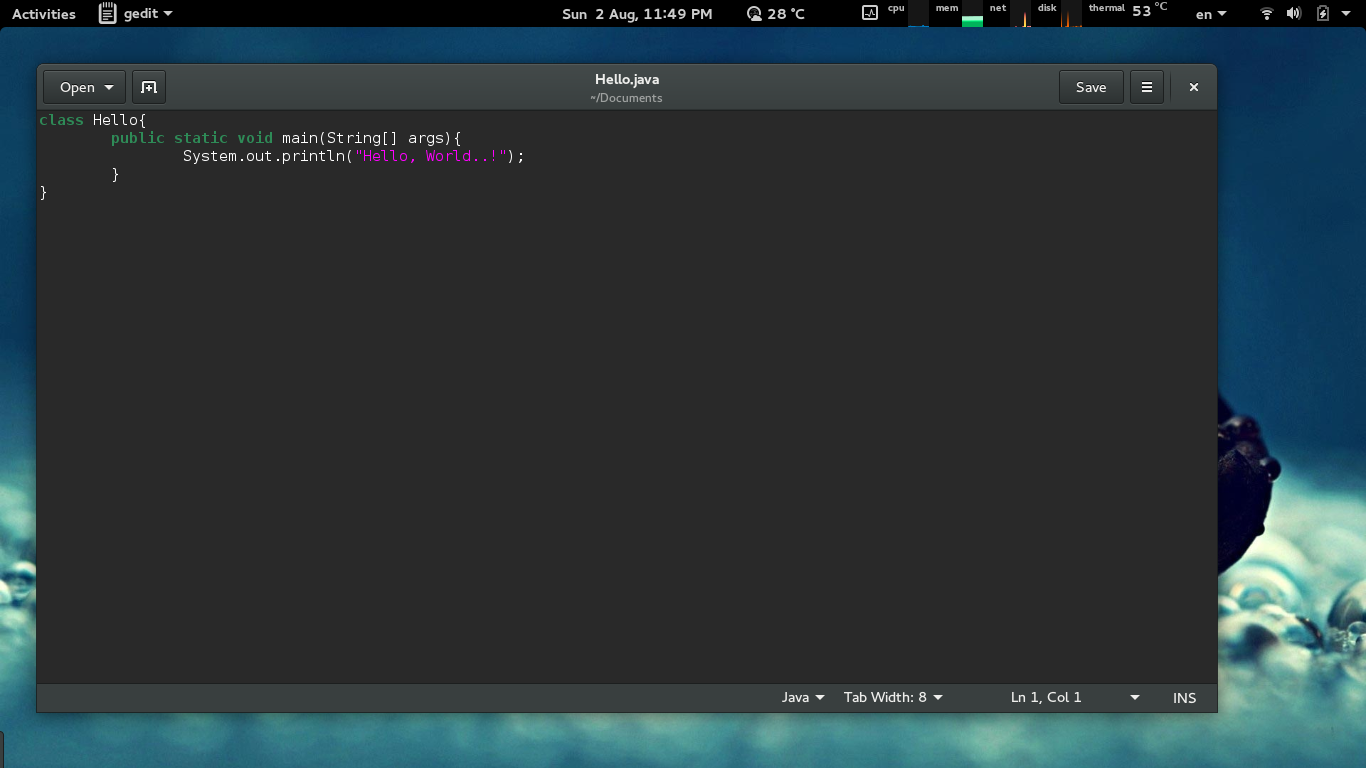
Now we have to enter following code which prints a string line.
System.out.println(“<text to print in terminal>”);
We need to print Hello, world..! So our code will be,
class Hello{
     public static void main(String[] args){
         System.out.println("Hello, World..!");
    }
}
Now you have coded your first java program. Now we need to compile it and run it. Before that you need to get into the folder where you have saved your java source code. Here I tell you some important commands to go there in Linux and Windows. And then let’s compile the program.
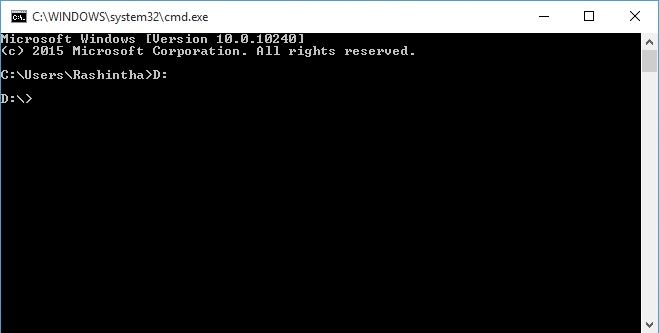
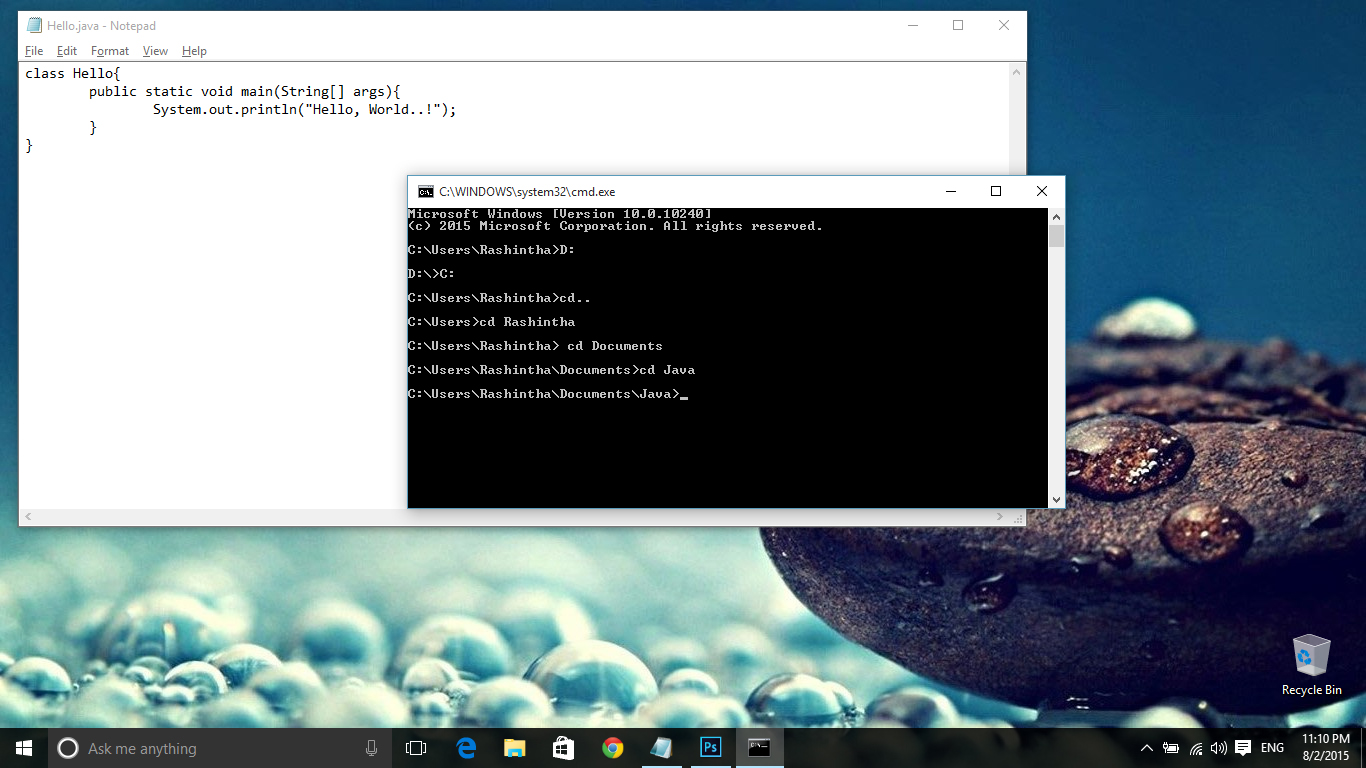
- Windows:
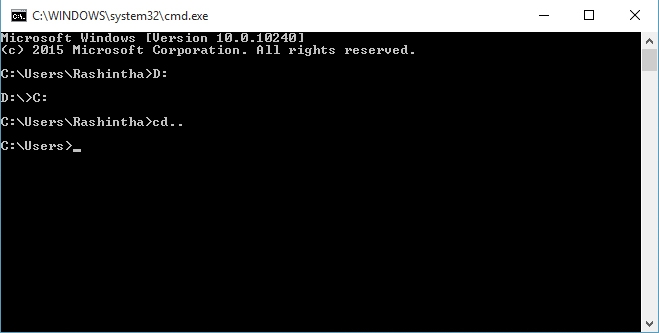
To change the drive, just type drive letter and a colon mark and press enter.
To go back type cd.. and press enter.
To go forward, type cd <directory name> and press enter.
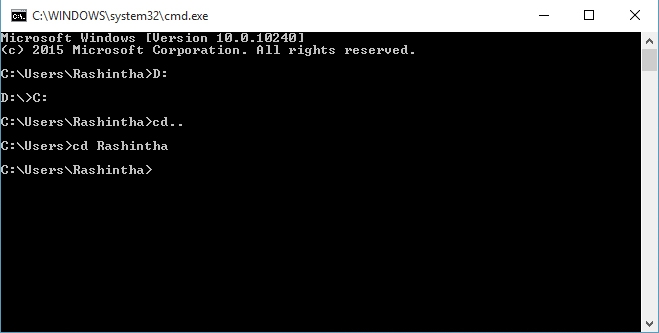
I have saved my java source code in C:\Users\Rashintha\Documents\Java directory. So lets go to the directory using above commands.
- Linux:
To go back type cd .. and press enter.
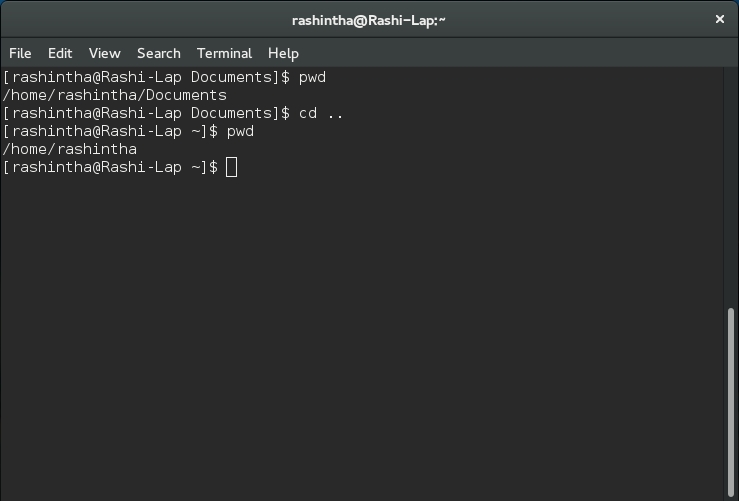
To go forward, type cd <directory name> and press enter.
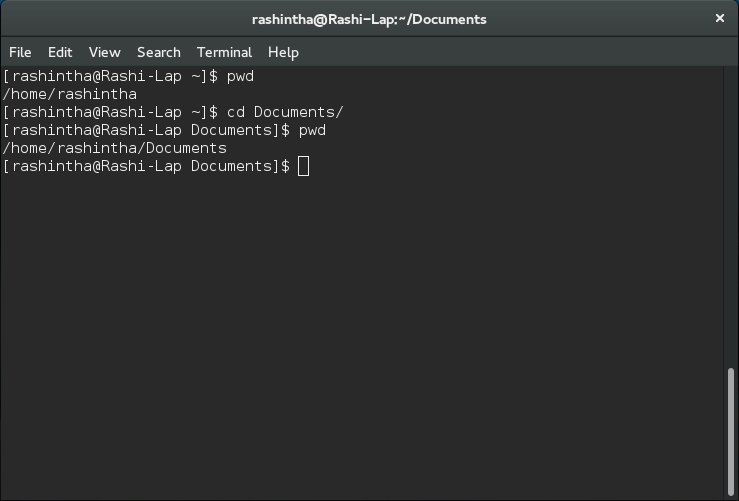
I have saved my java source code in /home/rashintha/Documents directory. So lets go to the directory using above commands.
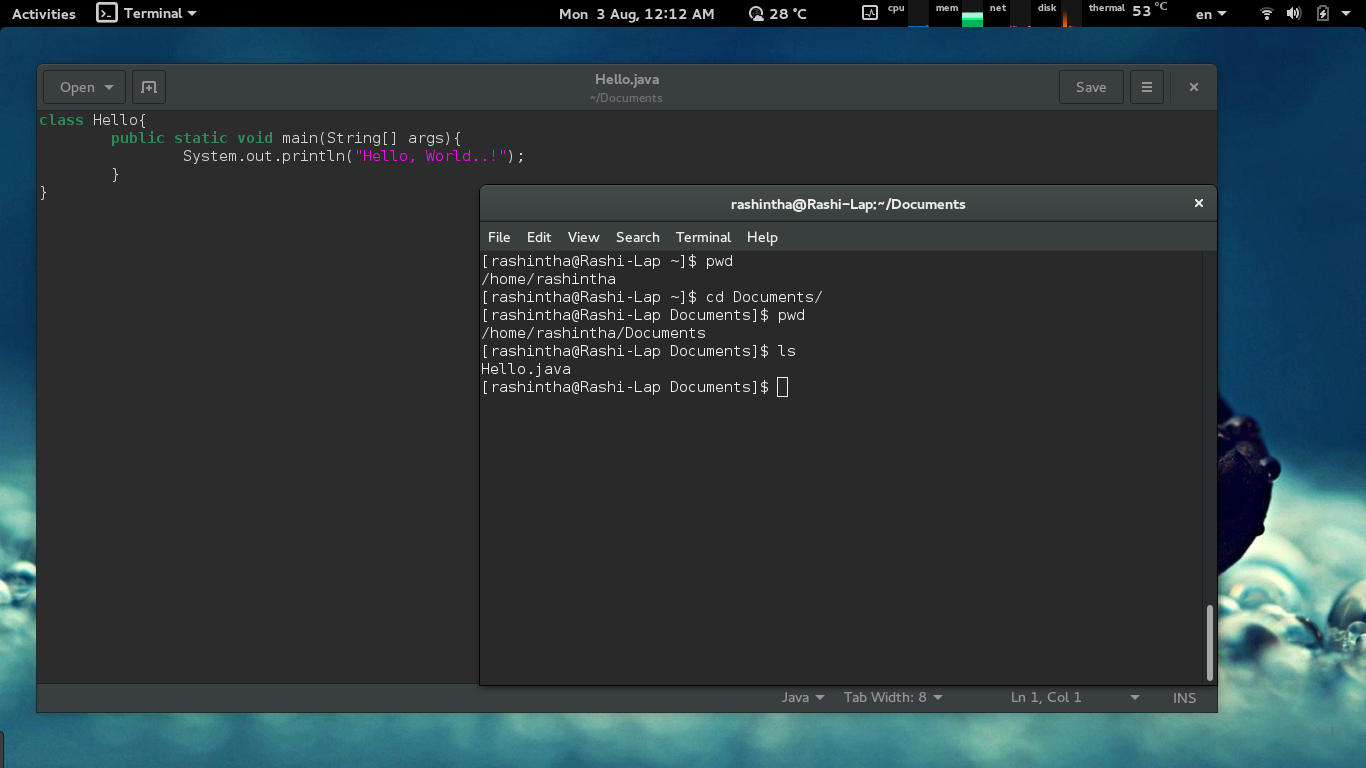
Now let’s compile and run our program. Use javac command to compile the code.
javac FileName.java
Eg: javac Hello.java
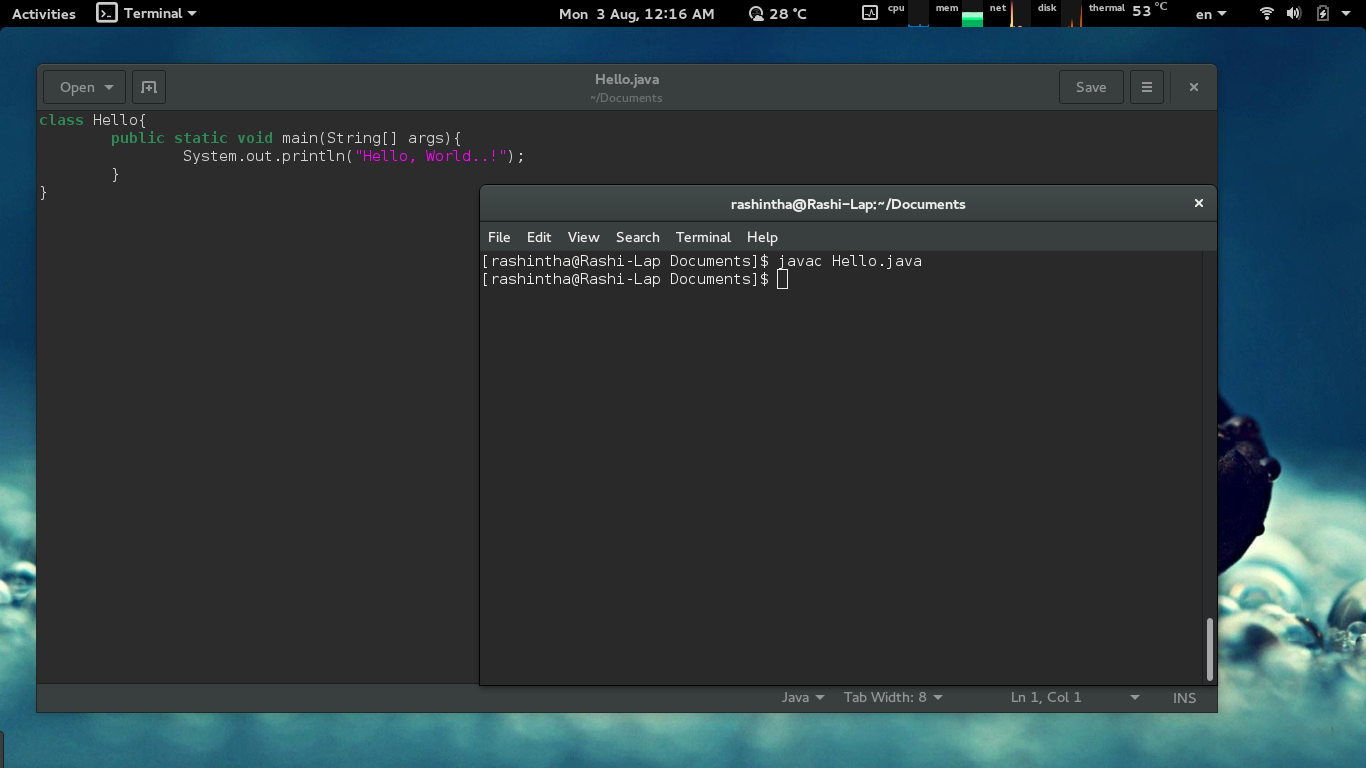
When you compile the code, it will be giving no output if your code have no syntax errors. If there is any error, it will be shown in the terminal.
Now let’s run the program using java command. When we’re running the program, we need to use class name. Only when compiling, we have to use file name. We use same name as the file name and class name so we could minimize problems.
java ClassName
Eg: java Hello
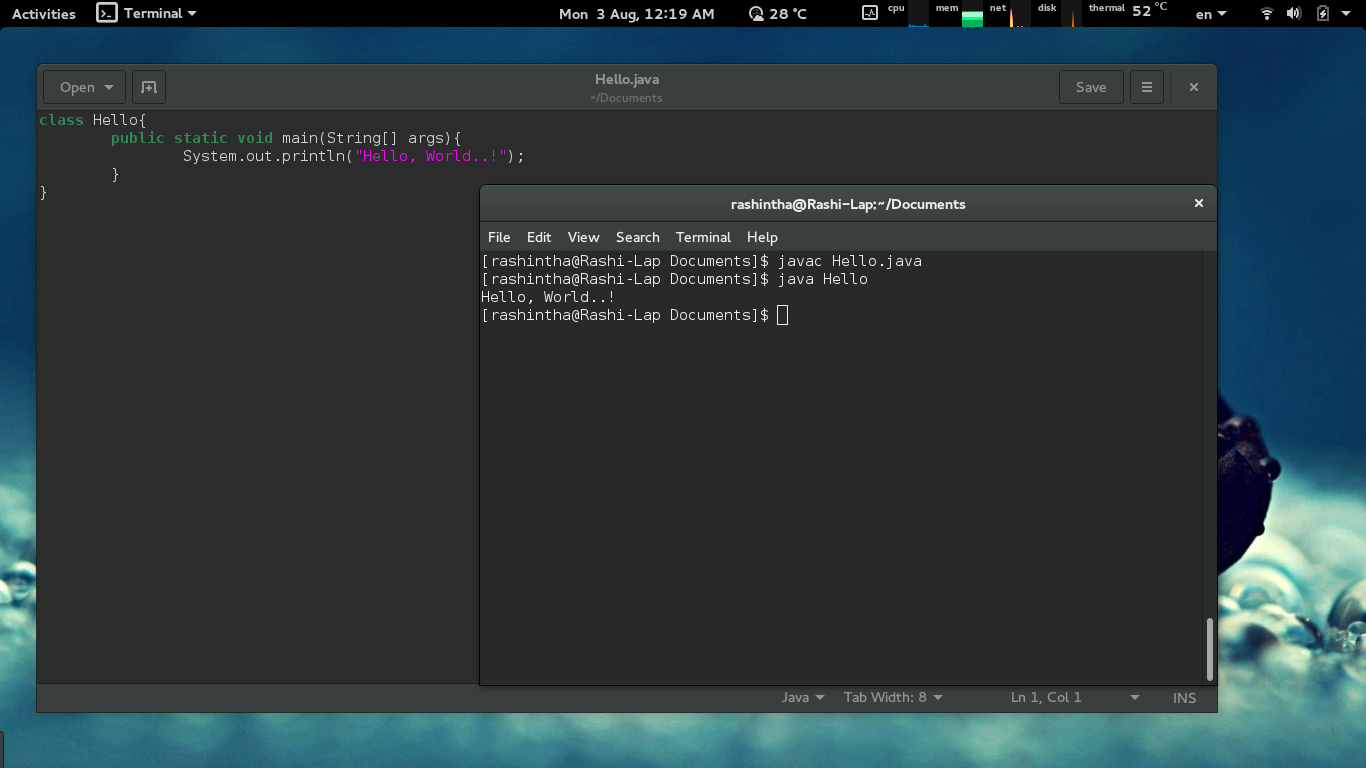

If you did everything correctly, you will be getting an output like this.
Try yourself:
Try to get following outputs using the java lesson you have learnt.
- Q1:
First Line
Second Line
- Q2:
*
**
* * *
* * * *
If you have any suggestions to improve this article, please forward them to students.blog@sci.cmb.ac.lk.