In this article, you will be guided to install LAMP Stack – Apache HTTP Server, MySQL – mariadb database server, PHP v7 and phpMyAdmin in Arch Linux and to configure them in the very basic way.
Installing Apache HTTP Server
First install apache package.
# pacman -S apache
Then start httpd service
# systemctl start httpd
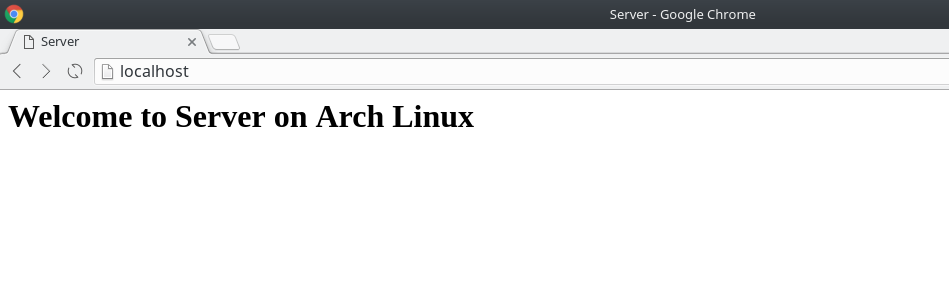
Now you have to check whether the httpd server is working correctly. So create index.html file in the /srv/http/ directory.
# nano /srv/http/index.html
and enter following lines in it.
<html>
  <head>
    <title>Server</title>
  </head>
  <body>
    <h1>Welcome to Server on Arch Linux</h1>
  </body>
</html>
Then type http://localhost in your web browser. If you get an output like figure 01 below, httpd server is working fine.
Installing MySQL
Install the MySQL server. Select mariadb when the installer asks you to.
# pacman -S mysql
Now run the following code.
# mysql_install_db –user=mysql –basedir=/usr –datadir=/var/lib/mysql
Next start MySQL Server by entering,
# systemctl start mysqld
Now to secure installation run,
# mysql_secure_installation
You have not created a root password, so just hit enter and add a root password.
Set root password? [Y/n] y
Remove anonymous users? [Y/n] y
Disallow root login remotely? [Y/n] y
Remove test database and access to it? [Y/n] y
Reload privilege tables now? [Y/n] y
Now enable mysqld service by entering,
# systemctl enable mysqld
Installing PHP7
Install PHP by entering,
# pacman -S php php-apache
Open /etc/httpd/conf/httpd.conf in a text editor.
# nano /etc/httpd/conf/httpd.conf
In /etc/httpd/conf/httpd.conf, comment the line:
#LoadModule mpm_event_module modules/mod_mpm_event.so
And uncomment the line:
LoadModule mpm_prefork_module modules/mod_mpm_prefork.so
Place following line in the LoadModule list anywhere after LoadModule dir_module modules/mod_dir.so
LoadModule php7_module modules/libphp7.so
Place following line at the end of the Include list
Include conf/extra/php7_module.conf
Now save the file and exit.
Restart the httpd server using following command
# systemctl restart httpd
Then use the following method to create a new php file in your root directory to verify the installation.
# nano /srv/http/info.php
And enter following lines in it.
<?php
   phpinfo();
?>
goto http://localhost/info.php from your browser. If you got following output, installation is a success.

Now enable httpd server by entering,
# systemctl enable httpd
Install phpMyAdmin
Install the required packages using following command.
# pacman -S phpmyadmin php-mcrypt
Now open /etc/php/php.ini with a text editor.
# nano /etc/php/php.ini
And do following changes.
Uncomment following lines.
extension=bz2.so
extension=iconv.so
extension=imap.so
extension=mcrypt.so
extension=mysqli.so
extension=zip.so
Search for open_basedir and change it as follows.
open_basedir = /srv/http/:/home/:/tmp/:/usr/share/pear/:/usr/share/webapps/:/etc/webapps/
Now save and exit.
Then create phpmyadmin.conf file.
# nano /etc/httpd/conf/extra/phpmyadmin.conf
And enter following lines.
Alias /phpmyadmin "/usr/share/webapps/phpMyAdmin"
<Directory "/usr/share/webapps/phpMyAdmin">
  DirectoryIndex index.php
  AllowOverride All
  Options FollowSymlinks
  Require all granted
</Directory>
Save it and exit.
Open httpd.conf
# nano /etc/httpd/conf/httpd.conf
And enter the following lines.
# phpMyAdmin configuration
Include conf/extra/phpmyadmin.conf
Then restart the httpd service
# systemctl restart httpd
Now goto http://localhost/phpmyadmin/ and if you got following output, the installation is a success.

If you have any idea to improve this article, please comment below or send them to our official email address.