Code Blocks is a cross platform free and open source IDE developed for C, C++ and Fotran. This light weight IDE can be used to program AVR microcontrollers also. This tutorial is about how to install and configure Code Blocks (CB) on Ubuntu in order to program Atmel AVR microcontrollers.
Step1 – Install required AVR development tools
You can refer my previous post on how to program avr on ubuntu for beginers for completing this section.
Step2 – Add third party repository to your Ubuntu source list
Here we are going to use private debian repository maintain by Jens. More details on his work can be found in http://apt.jenslody.de/
Open source.list file using following command
sudo nano /etc/apt/sources.list
Then you you will be able to see a longer file with all your repositories. Then append following two lines to that file
deb http://apt.jenslody.de/stable stable main
deb-src http://apt.jenslody.de/stable stable main
Save file using [CTRL] + [x] followed by [y]
Step 3 – Installing Code Blocks
The execute following commands on the terminal
sudo apt-get update
sudo apt-get install jens-lody-debian-keyring
Step 3b – Additional step
If you are using x64 installation, use following command as well
sudo apt-get install libc6-dev-i386
Step 4 – Creating a new project
- Open Code Blocks IDE and go to menu File->New->project
- Choose “AVR project” from the dialog box
- Follow the wizard and create the project
- From the main menu, select Project->built options …
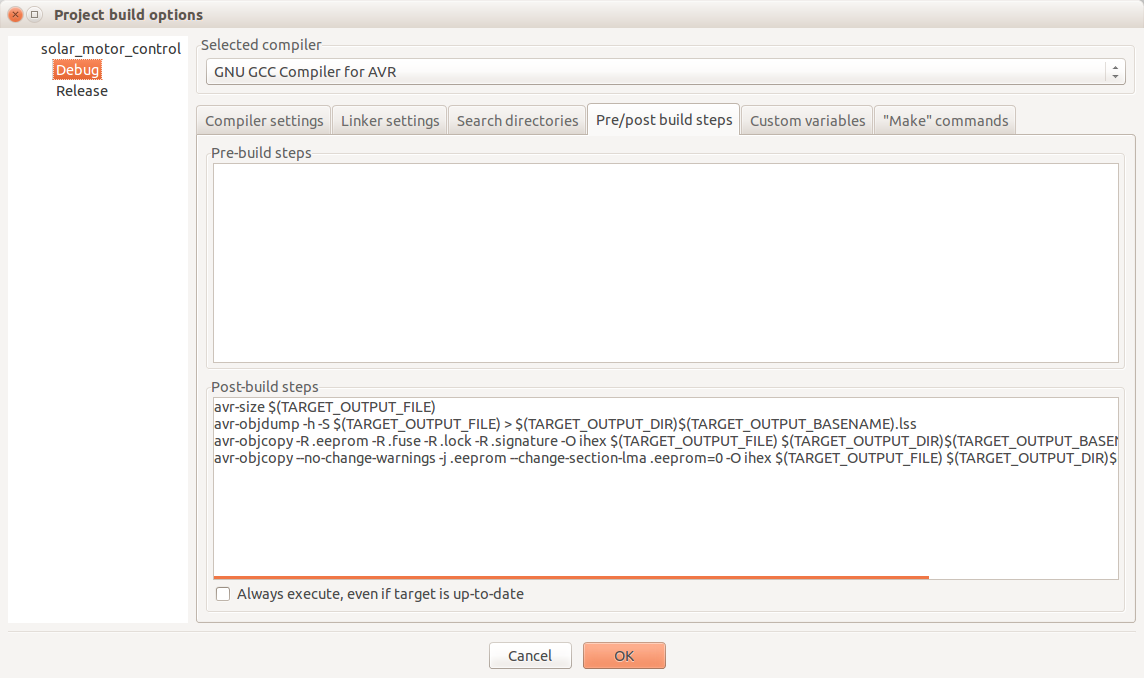
- Select “pre/post built” tab from the “Project build option” dialog box
- Note there are three options <your project name>, release and debug
- Click on <your project name> and CUT the content in that “post build steps” texbox on your right
- PAST the text which was CUT in the previous step to “post build steps” text boxes appear when you click “release” and “debug” items on your left. (You should copy the same in both of them)
- Append following line to the “post build steps” textbox when you see upon clicking “release” on your left
- sudo avrdude -p m32 -c usbasp -P usb -U flash:w:$(TARGET_OUTPUT_FILE) $(TARGET_OUTPUT_DIR)$(TARGET_OUTPUT_BASENAME).hex
sudo avrdude -p m32 -c usbasp -P usb -U flash:w:$(TARGET_OUTPUT_FILE) $(TARGET_OUTPUT_DIR)$(TARGET_OUTPUT_BASENAME).hex
Then your project build option dialog box should looks like as follows. N.B. Following screen shots are generated when Debug and Release texts were selected in left section
Congratulations !!!!! You are ready use Code Blocks IDE on Ubuntu for programing AVR microcontrollers
N.B. if you are